Airstream Restoration
-
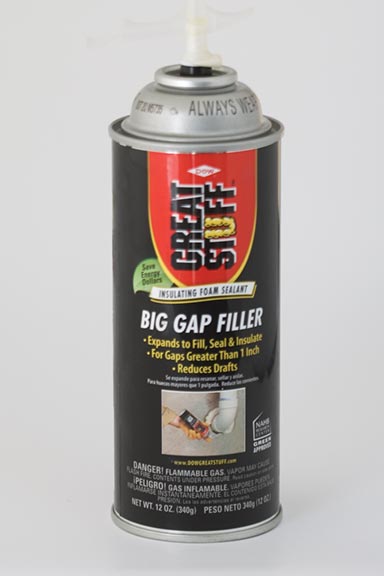 Make sure you have several cans of expanding foam gap filler. You’re going to need it. Because partially used cans don’t store well, the foam needs to be used all at once with few delays.
-
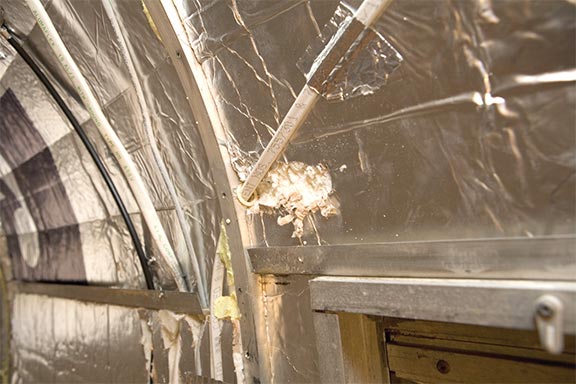
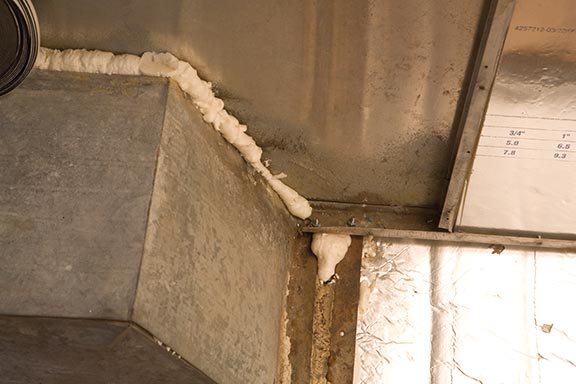 Find every conceivable air gap and fill it with foam.
-
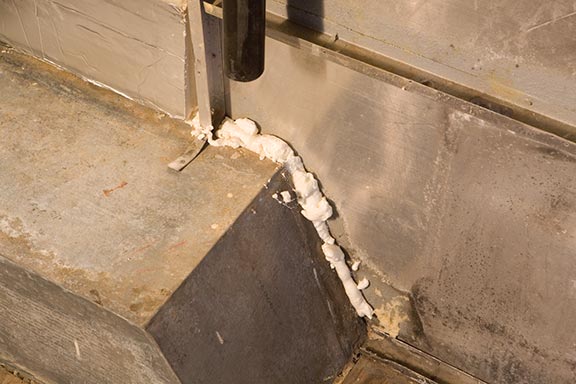 More foam.
-
 More. Foam.
-
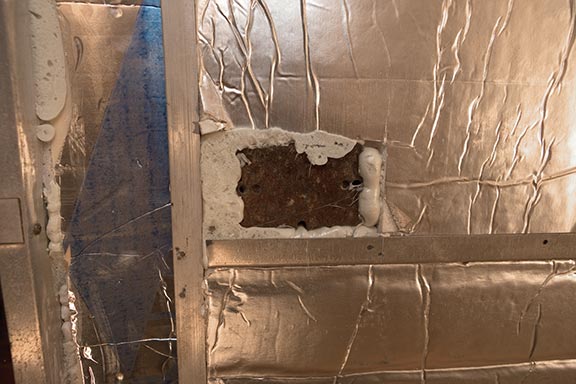
 Now it’s time for your electrician to show up. I wanted lots of outlets, plus wiring for an AC, cable TV, Internet, fridge, and phone.
-
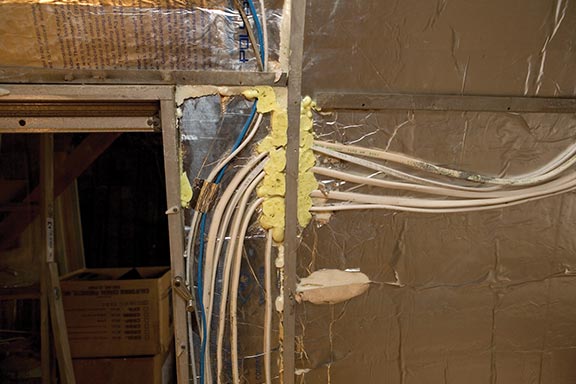 Again, foam. Did I already say lots of foam?
-
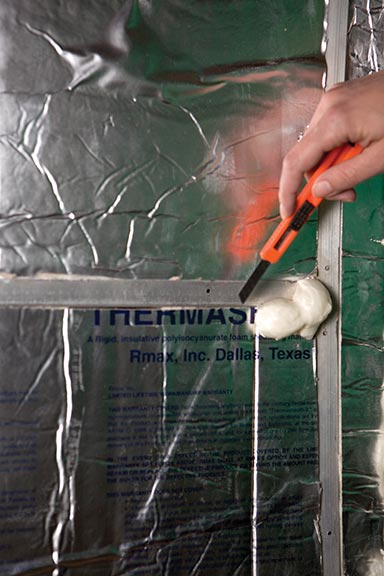 When the foam bulges (it will), it will need to be trimmed flush to the finished surfaces. Simply cut it off with a razor.
-

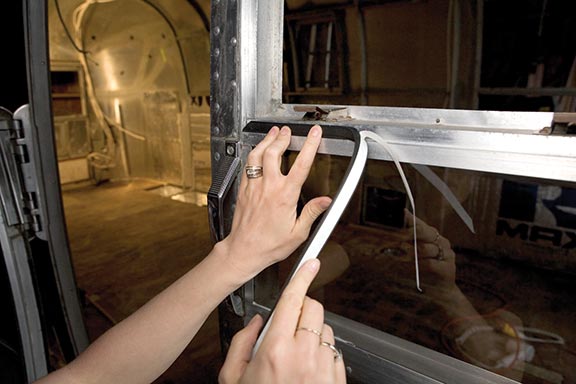 While she’s getting wired, it’s time to redo the windows. I started by visiting www.vintagetrailersupply.com to have on hand what I would need specific to my trailer. Because they didn’t have everything I would need, I visited my local hardware stores and searched the Internet. The entry door, windows, opening vents, and baggage or utility doors and hatches require different seals.
-
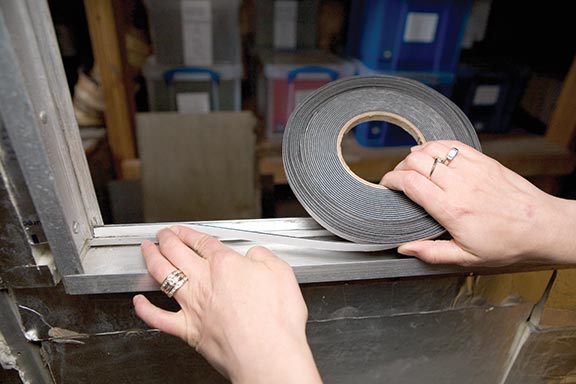 There are modern, low-profile, two-sided adhesive seal tapes you can get at professional glaziers that can make glass installation easy.
-
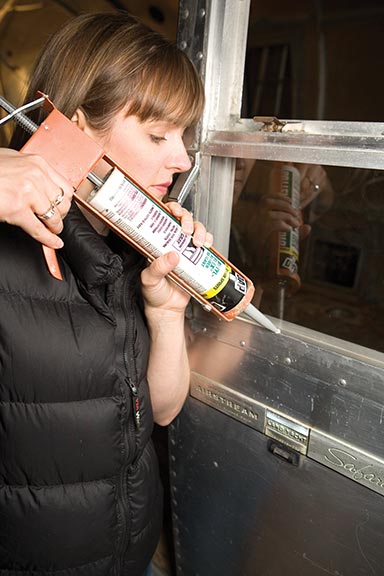 Use only good butyl caulking for your fixed windows. This is also THE type to use for any metal-to-metal patches to the body, vent flashings, or other fixtures exposed to the weather.